As summer is upon us, some lucky people will be embarking on their 21 day minimum mapping dissertation field work. An extensive field based dissertation forms a core part of many undergraduate courses. Some of you will be heading to areas well trodden by the BGS, others may be exploring new territory. If you are travelling abroad, there will be many additional considerations – you may want to check out our ‘travel tips‘ series. Wherever you are heading out to, we want to make sure you return home safe, happy and with all of the samples and notes you need to write up your dissertation.
Here are some top tips from Jane Robb and Rosalie Tostevin for surviving your summer mapping project.
BEFORE YOU BEGIN
You should have considered the safety issues you may come across in the field, noted local emergency procedures, and hired accommodation and cars (if needed). Remember there is no point in hiring expensive 4x4s, in the hope of driving across the field area, if they are not insured to go off road. Consider the terrain, foliage, wildlife and crime (we had a group of bandits hiding out in a cave in our mapping area, but this probably isn’t a common problem!). Also plan how much ground you are likely to cover, considering the terrain and the complexity of the geology, and print out field slips that cover this area and more. Have a back up field area in mind in case your first choice is out of bounds for some reason (shooting season, floods, you name it!). In some countries, you will also need to make contact with the land owner and ask permission to work on their farm – make it very clear you have no commercial interest in the area. In the UK, you can often get away without a GPS, but if you map in a region with few landmarks, a GPS will be a necessity. You will also need logging paper and a LOT of mapping pens and coloured pencils.
Do any preparation you can before heading into the field, looking at the area on google earth and any existing geological maps. Look at any past projects you can find in your area. Once you arrive, you may find the area is more complex or simple than you had anticipated, be prepared to be flexible and work in a slightly different area if needed. If your area is complex, you will have to make a smaller map, if it is structurally simple, focus on covering lots of ground and making detailed observations of minerals or sedimentary features.

IN THE FIELD
No. 1: Don’t be a stranger
Mapping projects are often based in remote areas, and your only company may be your fellow geologists. This can be one of the toughest, and also one of the best parts of the mapping project. Being able to get along with people in tough conditions is one of the valuable skills that geologists develop during their degree, it’s even something you can bring up in job interviews. Try to get along, accept each others annoying habits, and cook big group meals together in the evening. You can always invite another friend/relative/girlfriend/boyfriend out to join you for a week to shake things up a bit. If you’re lucky enough to have a pub nearby, get to know the locals. You should be able to walk in and say ‘usual please’ by the end of the project!
No. 2: Keep fed and watered
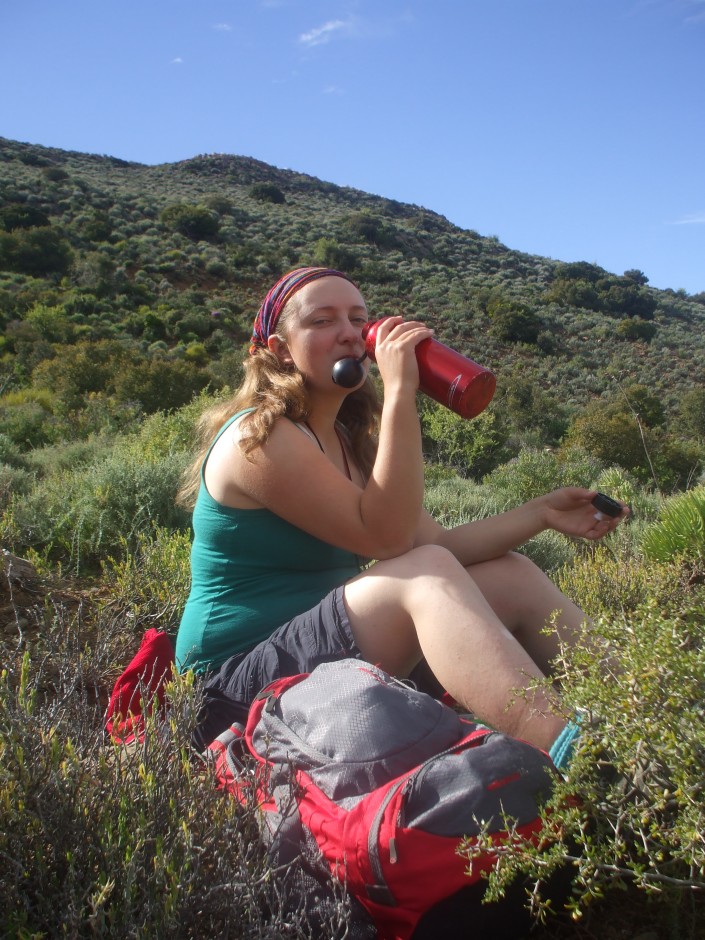 Don’t forget water, and lots of it. You will be walking a lot, climbing and thinking (and drinking lots of coffee). Remember that in the field there is an extra meal in the day’s routine – elevenses. You will find your appetite increases with all that exertion, and you need to pack plenty of food and snacks. You also need to consider what you will do if things go wrong and you are out in the field later than you had planned to be.
No. 3: Take sensible days off
No undergrad field trip in known to give you a day off – lecturers make you plough on through weekends, bank holidays, storms, flash floods… but on your mapping project you are your own boss – so it’s okay to take some days off! Also, continuous field work just isn’t plausible over such a long period of time. Take time to visit the local attractions, relax and recover, and wash your clothes and stock up on supplies.
No. 4: Back-up your map
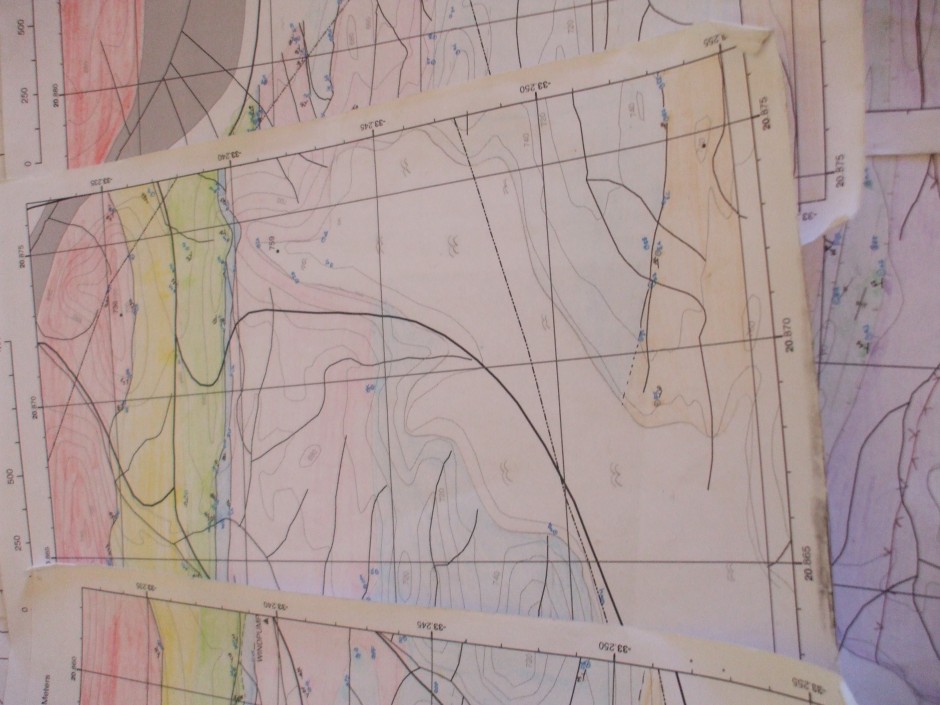
Take regular photos of your field slips
Avoid the terrifying moments where the wind takes it off the cliff edge and your past three weeks of work is lost. Photograph it regularly and keep a track record of its progress. I would also recommend writing directly on the map in something that is permanent, noting grid references in your notebook.
No. 5: Do the work as soon as you get home
It hurts to think of carrying on after nine hours in the field but it honestly saves time in the long run. The information you need is fresh in your mind now and won’t be in a week or 2 months time. We would also recommend drawing simple sketch cross sections as you go, to check you aren’t missing something important like a fault that doesn’t go all the way through or folds that stop suddenly.
No. 6: Take good field notes
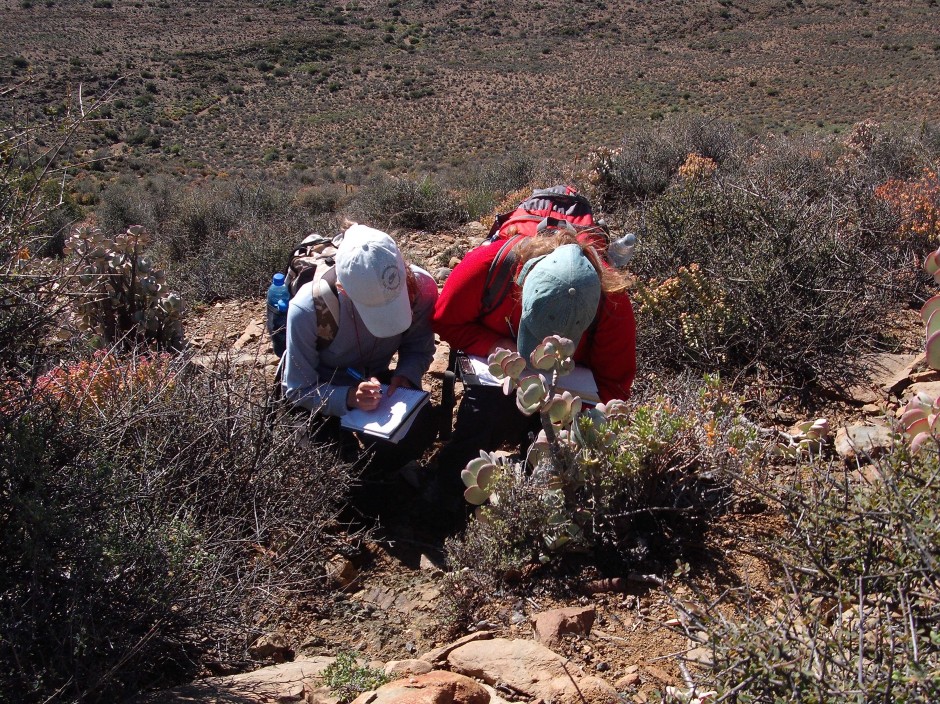
Record everything in your notebook
Record everything, from the smallest augen to the angle a granite body intrudes at. Never assume you will remember something, all details will drain away from your brain like a sieve once you are back home. If you are confused by a complex section, record everything you see, even if you can’t explain it yet. The solution may become obvious when you turn the corner and see the next outcrop. If you’re ever feeling stressed out by a section, sit down to have a cup of tea and make a sketch. You’ll be surprised what comes to you.
As well as observations, record all of your thoughts and include informed speculations. These show your brain was working in the field and you were not just on autopilot, this is what the examiners will be looking for.
No. 7: Take good samples and photos
It is important to take samples of almost all of the rocks you come across, and of all the interesting little things you find within them. It will hurt later when you need to know more about something and you have no record of it – pictures sometimes just don’t hack it. Don’t settle for rock samples that have fallen off the main body of rock, they will generally be weathered and not good in thin section. This means you need a good, heavy hammer.
Also take lots of photos to include in your dissertation. Use a coin (in the local currency) as a scale (or a person for larger views), and record in your notebook where the photo was taken and what it shows.
No. 8: Enjoy it!
Many geologists count their mapping project as one of the best summers of their lives. It can also be the turning point from being a person that studies geology, to being “a geologist”. For many of you it will be the first time you have done field work without a pre-prepared guide and a host of demonstrators, and it can be scary but when you realise you are able make interpretations for yourself, very satisfying. Also make sure you have fun; see the local sites, meet the local people, and try the local food and drink. The field has more to offer than just rocks, you may have sunshine, fresh air and possibly some wildlife encounters (see our photo series, ‘wildlife in the field‘ for many examples!).
Any advice we’ve missed? Add in your thoughts using the comments box below!
If you are undertaking field work or mapping projects this summer that could have a development aspect, why not consider presenting your findings as a poster at our first National Conference?
Pingback: Professionalism and Social Responsibility (3): Writing your Mapping Dissertation | Geology for Global Development